This post may contain affiliate links. As an Amazon Associate we earn from qualifying purchases.
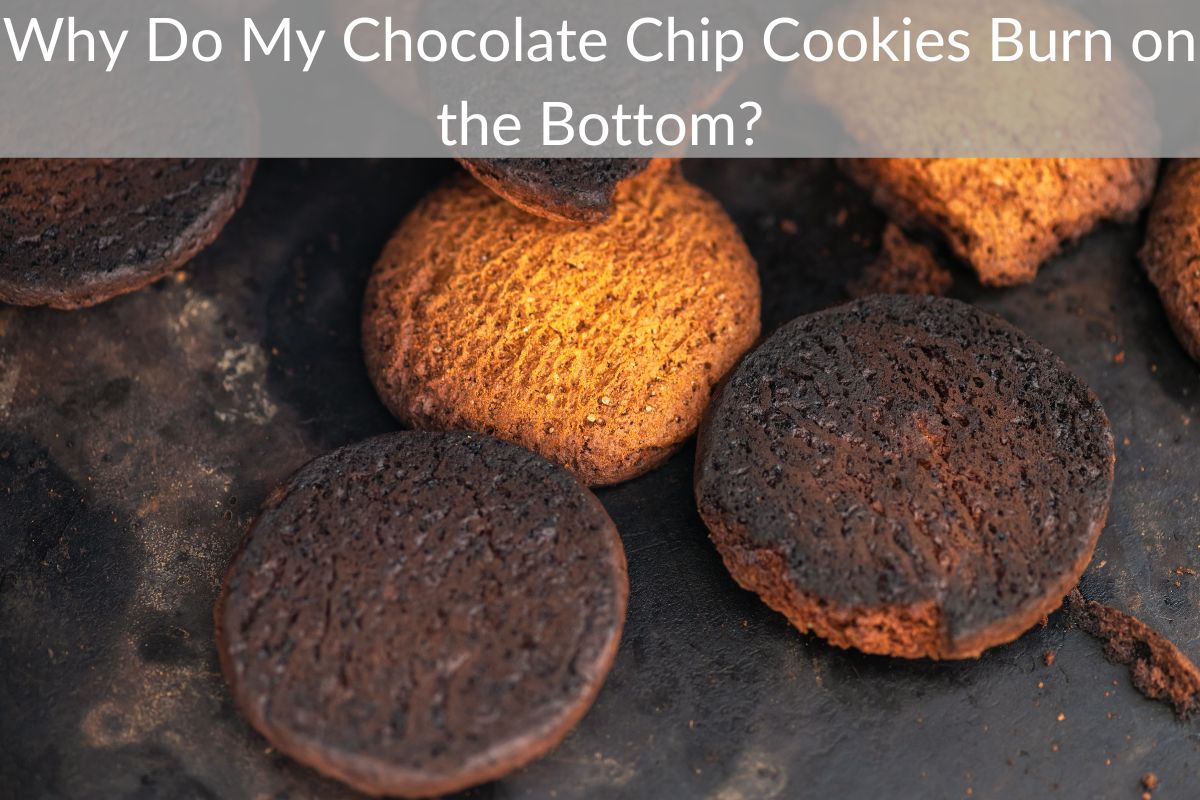
If your chocolate chip cookies are burning on the bottom, there are several possible causes. Some of these reasons may include an unevenly mixed batter. Others may include the use of nonstick spray or overly-greased pans.
If you’ve ever experienced this problem, you’ll want to keep reading to learn the best way to remedy the situation. Listed below are a few tips to fix your cookie-baking woes.
Unevenly mixed batter
If you want your cookies to be golden brown, you should follow the recipe closely. Do not use second-rate ingredients and make sure that you thoroughly mix the batter. Overmixing the batter will result in tough, dry cookies. To remedy this issue, refrigerate the dough overnight. If you have a tendency to over-mix batter, you can replace high-protein flour with all-purpose or pastry flour.
If you find that your batter is too soft, the cookies will fall apart as soon as you remove them from the baking sheet. Always let them cool on the baking sheet before transferring them to the wire rack. When making a batch of cookies, it is important to understand that different people have different ovens. Even a few minutes may make all the difference in the world. This will make the cookies burnt on the bottom, but the rest will be chewy and delicious.
Make sure you use the right type of flour. Butter melts more quickly than shortening, so butter and shortening together will result in softer cookies. Use unbleached, organic, and high protein flour. The higher protein content will make the cookies flat and crisp. Also, make sure that you do not over-work the dough, because overworking it will result in tougher cookies.
Don’t add too many mix-ins to your batter. To avoid this, keep a small bowl of the mix-ins aside. When you add them to the dough, you can use them for fortifying the batter or stud the cookie with extra goodness. Just remember to keep an extra handful on hand! That way, you will never end up with a super-sized cookie that will burn on the bottom.
Don’t be fooled by the appearance of the cookie. The best way to determine if the cookies are ready is by checking them frequently. Don’t forget to check them at least once more after they have finished baking. You can freeze the dough and bake it the next day if you’re feeling ambitious. The cookies won’t last long if you overbake them, so make sure they are undercooked before transferring them to the cooling rack.
Another cause of unevenly baked chocolate chip cookies is an overly-fattening cookie sheet. Putting the cookie dough onto a hot baking sheet can make it heat up faster, which makes the cookies spread. Additionally, over-mixing the batter can cause cookies to spread. Another cause of unbaked cookies is the wrong proportions of white sugar, butter, and all-purpose flour.
Another factor that contributes to the uneven baking of cookies is using outdated ingredients. Many amateur bakers forget to check the expiration dates of baking ingredients. A container of baking powder is good for two years and a box of baking soda is good for six months. Baking with old baking ingredients will result in cookie dough that’s dense and dry. These tips will help prevent this from happening in the future.
Too much sugar is also a common cause of blackened bottoms. While sugar is necessary for the crispy texture of a cookie, too much sugar can lead to a rapid caramelization, resulting in a darkened bottom or edge. If you are unsure of your oven temperature, try lowering the temperature a bit. Make sure to check your baking sheet frequently, as the temperature may change by ten degrees.
Baking soda adds lift to the cookies. When baking with baking soda, the baking soda will start to bubble up once the liquid reaches the cookie batter. This rise will keep the cookies from being too dense and flat. Baking soda prevents too much oxidation, which is another common cause of flat, dense cookies. Baking soda is a natural alkaline ingredient that’s four times stronger than baking powder.
Greasing your pan
First, before you start baking, grease your pan. You can use butter or shortening depending on the type of cookie you’re making. Butter or shortening makes the cookies spread, so grease the pan well before baking. But if you don’t have butter or shortening, use parchment paper instead. The paper will give your cookies a little more friction, which will keep them from spreading.
When baking cookies, you can use butter or vegetable shortening for a greased pan. Butter is a common choice, but be aware that these oils can burn and leave an unsightly coating on your pan. When you grease your pan, spread it thinly and tap the pan several times to evenly distribute the fat. If you have an unstick pan, no need to grease it. But if you’re using a regular cast iron skillet, you should grease it.
When it comes to fats, make sure you use the proper amount. If you don’t follow the recipe to the letter, your cookies or bars will become too tender and tough to remove from the pan. Always use the correct type of fat called for in the recipe. If you substitute margarine with butter, your cookies will become flat and difficult to remove from the pan. Try using large eggs instead of small ones.
Another option is to use parchment paper. The benefits of using parchment are that they are easy to clean, but they lack the satisfying crunch. You’ll get an even circle of chewiness. Another option is to line your pan with aluminum foil, but that’s not enough. To ensure the cookie does not stick to the pan, you should grease it. Softened butter works best. Bring it to room temperature.
Another tip is to use parchment paper for the baking process. It will keep the cookies from sticking to the bottom and sticking together. Then, try to set a timer for your cookies to make sure they bake correctly. You can also use a window to check your cookies while baking. It can help you get the perfect cookies. So, the next time you bake chocolate chip cookies, don’t forget to grease your pan first!
If the cookie is too dark on the bottom, the reason might be that your oven’s temperature is too high or too low. Lowering the temperature will help prevent the bottom from burning, but experiment first to see what works best for you. If your cookies don’t bake evenly, try lowering the temperature and using a nonstick baking sheet. This should work for most cookies. In the meantime, keep a clean cookie sheet for the next baking.
Another way to keep your cookies from burning on the bottom is to line the baking sheet with parchment paper. This will help prevent the cookies from sticking to each other and sticking to the pan. You can also line the baking sheet with parchment paper to prevent the cookies from sticking. The paper is non-sticky, and it won’t interfere with the removal of the baked goods. You can also buy parchment paper in different sizes and thicknesses, which is the best option for lining your baking sheet.
For a less expensive option, you can also buy a silicone pan. These non-stick pans are 18 by 12 inches and have a 1-inch rim. They are dishwasher-safe and can withstand temperatures up to 500 degrees Fahrenheit. Silicone baking mats can be used as well. It is easy to wash and will not scratch when you use them. And they are microwave, freezer and refrigerator safe.